 June 21, 2026
How to set up a Shopify store to sell eyewear online: a practical guide
Selling eyewear online has one challenge most products do not. People cannot try it on, and the word prescription makes it feel complicated. Solve those two things, and the rest is ordinary e-commerce.
This guide walks the full setup with eyewear specific tips at each step, from how you source product to the prescription flow that decides whether a visitor buys. It also shows how to build the storefront in an afternoon with Lovable. You can be live in days, not months.
Step 1. Decide your model before you build
There are two ways to sell eyewear online, and the choice shapes everything that follows.
You can hold inventory: buy frames, run or contract a lens lab, and ship orders yourself. Or you can connect your store to a ready made catalog and have a certified lab cut the lenses and ship each order for you, so you carry no stock. This is the model GoHub runs for eyewear brands and resellers adding prescription lenses to frames they already sell. For a new store the second route is far lower risk. No frames bought up front, no optical lab to run, no inventory sitting unsold. You list, the order comes in, a lab fulfills it.
Then pick a focused launch range: a tight set of frames, the lens types you will offer (single vision, progressive, readers), and sunglasses. Depth beats breadth at the start.
Pro tip: if you sell prescription eyewear, sort the rules of your market before launch, not after. Most places require a valid prescription on file, and lenses must meet basic safety standards. Get that settled early so it never becomes a fire drill later.
Step 2. Pick the right Shopify plan
For most new eyewear stores the entry plan is plenty. Move up only when order volume makes the lower card processing rate on a higher plan worth the jump.
Two easy savings: pay annually, which trims a meaningful slice off the price, and start on the current trial so you can build the whole store for a token amount before committing. Build first, pay later.
Pro tip: do not buy a higher plan for features you will not touch for months. Upgrading later is one click.
Step 3. Build the storefront fast with Lovable
This is where setup has genuinely changed.
The old way is to pick a Shopify theme and customize it section by section. It works, but you are boxed in by the theme, and making eyewear feel premium inside a generic template takes time.
The faster way is Lovable. You describe the store you want in plain language, and it generates a real, working storefront. No code. You type what you want, watch it build, and refine it by chatting like you would brief a designer. Best of all, Lovable can stand up a Shopify store for you and wire the storefront to it, so Shopify still runs the commerce engine underneath. Checkout, payments, tax, and orders stay on Shopify. Lovable gives you a custom, on brand front end without the theme limits. Weeks of theme work become an afternoon of prompting.
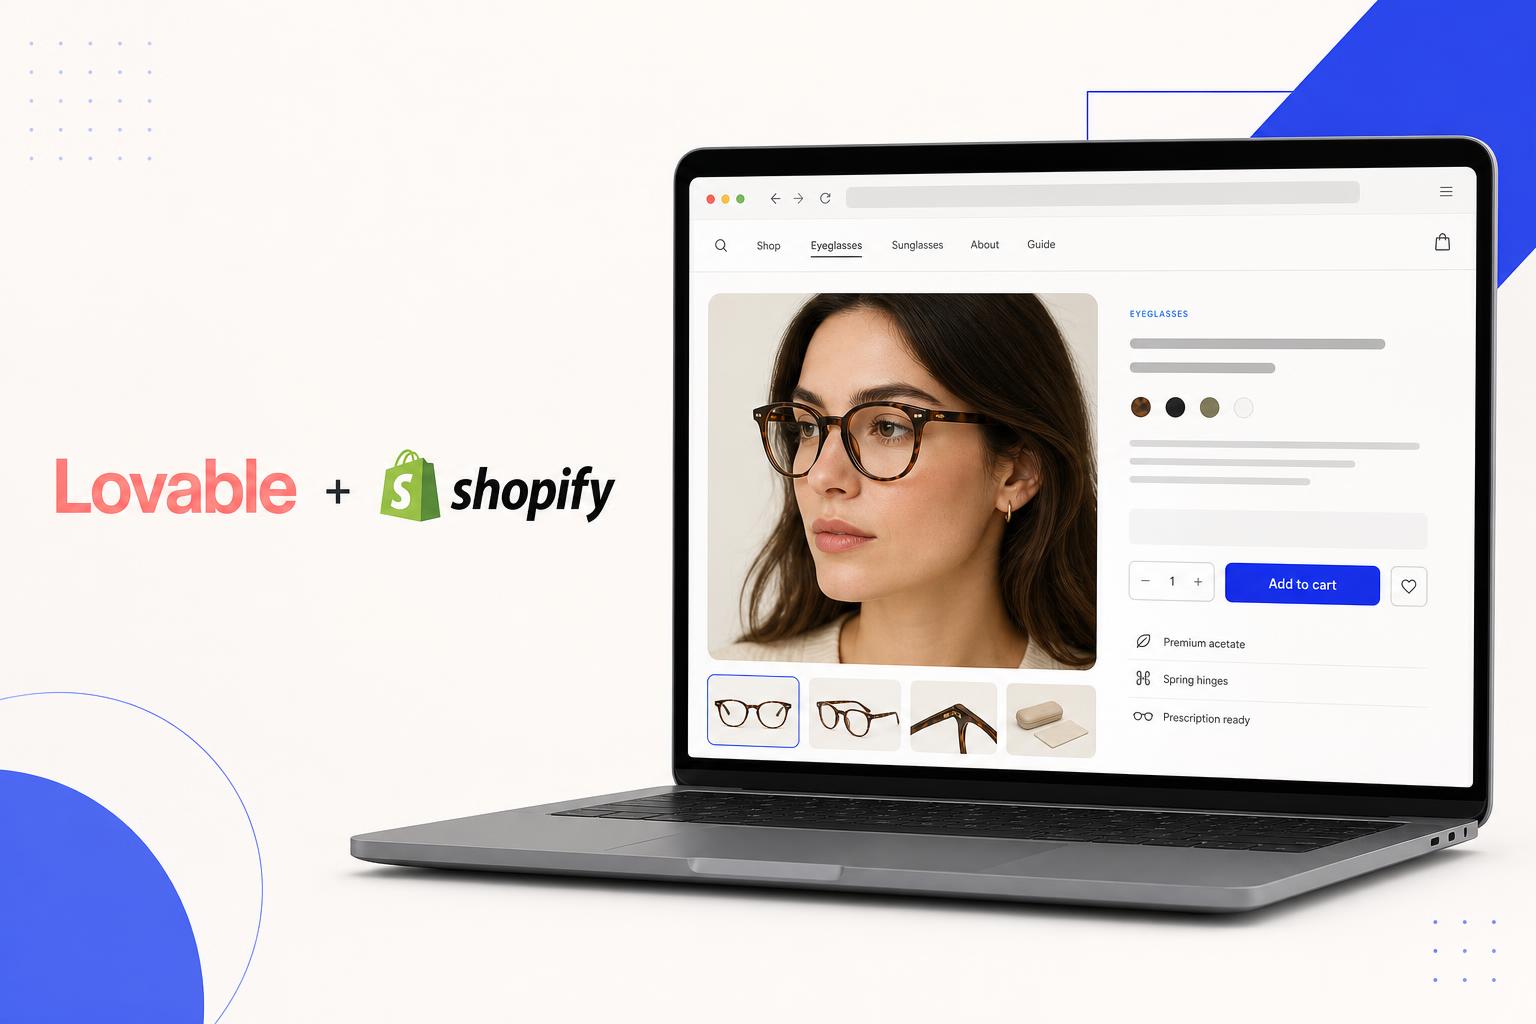
For eyewear specifically, ask Lovable to build two things into the product card from the start: a 360 degree spin so shoppers can see a frame from every angle, and a prominent virtual try on button. Build them as placeholders now and connect them to your catalog and try on provider later.
A few tips to get the most from it:
- Feed it your brand kit first, so colors, fonts, and tone are consistent from page one.
- Build page by page. Generate the layout and homepage, then collections, then product pages. Smaller prompts produce cleaner results.
- Connect Shopify early, so you design against real commerce.
- Keep the catalog, try on, and prescription flow as clean components you can wire to your provider, rather than trying to fake them inside the storefront.
Pro tip: save your best prompts. When you want a seasonal landing page or a new collection later, reuse and tweak them instead of starting over.
Step 4. Win on the product page, where eyewear is sold
The number one reason people hesitate on eyewear is simple: will this suit me, and will it fit. Your product page has to answer both before they will buy.
Show the frame measurements that matter: lens width, bridge, and temple length, plus total width. Pair them with a plain fit guide, narrow, medium, or wide, and a helper that lets shoppers match the numbers from glasses they already own.
Lead with imagery. Use on model shots so people see the frame on a real face, and a 360 spin so they understand scale. Put the virtual try on button front and center. For eyewear it is close to essential, and it removes the single biggest doubt in the category.
Show price with confidence: from a clear starting price including prescription lenses. Then tuck every technical detail into clean accordions so the page stays calm.
Pro tip: write real alt text on every frame image. It helps shoppers using screen readers and quietly helps your search ranking at the same time.
Step 5. Build the prescription and lens flow
This is the page unique to eyewear, and it is where sales are won or lost. Treat it as a calm, guided wizard with a running price and a progress bar.
The path: choose the frame, pick the lens type, enter the prescription, add the pupillary distance, choose lens options like index, anti reflective, blue light, photochromic, or polarized, then review and check out.
Give shoppers more than one way to hand over a prescription: type it in, upload a photo, or send it later. The prescription step is the biggest drop off point in the whole funnel, so the option to send it after purchase keeps you from losing the sale at the hardest moment.
Pro tip: you do not have to build this from scratch. A catalog and optical plugin can power the entire lens flow and route each order to a lab automatically, which is the main reason the no inventory model is so much faster to launch.
Step 6. Set up payments without leaking fees
Turn on Shopify Payments as your main processor. If you use an outside gateway instead, Shopify adds an extra transaction fee on top of the processor's own fee, on every order. Shopify Payments avoids that surcharge. Then add Shop Pay for one tap repeat checkout, PayPal for the shoppers who trust it by default, and a buy now pay later option for higher priced pairs.
One eyewear specific win in the United States: accept FSA and HSA cards. Prescription eyewear is eligible, and offering it both lifts conversion and raises the average order value. Use a checkout tool that handles the substantiation so it is effortless for the buyer.
Pro tip: the extra gateway fee is small per order but compounds fast at volume. Picking the right processor on day one is a five minute decision with a long payoff.
Step 7. Make shipping and returns build trust
Set up shipping zones and decide your rates before launch. A free shipping threshold set a little above your typical cart nudges shoppers to add a second pair to reach it.
Because lenses are cut to order, lead times matter. State the delivery promise clearly on the product page and in the cart, not just at checkout.
Returns and warranty carry extra weight in eyewear, because buyers are nervous about fit and accuracy. Spell out free returns, an accuracy guarantee that remakes lenses for free if they do not match the prescription, and a frame warranty. Put those promises right next to the buy button. Trust is what closes an eyewear sale.
Pro tip: set up your abandoned cart email before launch. In eyewear, a shopper who hesitated over fit often just needs one gentle nudge, plus the reassurance of your returns promise, to come back and buy.
Step 8. Handle sales tax the right way
Sales tax follows the customer, not you. In the United States you owe tax to the state where the buyer is, and only once your sales into that state cross its threshold. You do not register everywhere on day one. You register where you actually have an obligation and grow into the rest. Turn on Shopify Tax to calculate the right rate automatically, and use its tracking to warn you as you approach a threshold in a new state.
One eyewear detail: in many United States states, prescription eyewear is sales tax exempt or reduced because it counts as a medical device, while sunglasses and plain readers are taxable. Set the correct product tax category on each item so you charge correctly by state.
Pro tip: keep your business address and tax settings truthful and aligned. An address entered just for marketing reasons can trigger tax collection you do not actually owe.
Step 9. Add only the apps that earn their place
Resist installing a dozen tools on day one. Every app can add cost and slow your site. The short list most eyewear stores genuinely benefit from:
- A reviews app, ideally one that supports photo reviews, because frames shown on real faces sell far harder than star ratings alone.
- Email and SMS marketing to capture visitors and bring them back. This is where much of your repeat revenue will come from.
- An SEO helper for clean titles, metadata, and a sitemap.
- Analytics, starting with the free standard tools.
- A returns app once you have the order volume to need a self service flow.
Pro tip: seed a handful of genuine reviews before you scale traffic, so cold shoppers never land on a product page with zero social proof. A page with even ten honest photo reviews converts far better than an empty one.
Step 10. Run a real pre launch check, then grow
Walk the store like a customer before you announce anything. Place a real test order all the way through the prescription flow and payment in test mode, so you know it works end to end. Open the site on your phone, since most eyewear traffic is mobile, and confirm the virtual try on and add to cart buttons stay sticky at the bottom of the screen. Publish your policy pages, compress your images for speed, and cover the accessibility basics.
Then grow on purpose. Google Shopping is strong for eyewear because it captures people already searching with intent, terms like prescription glasses online or blue light glasses. Start your ads small and let the data accumulate before you scale, because a new store needs time to learn what converts. Lean on email and retargeting early, since reaching people who already showed interest is your cheapest growth.
The short version
Selling eyewear online comes down to a few smart choices: connect to a catalog so you carry no inventory, build a premium storefront fast with Lovable while Shopify runs the commerce underneath, make the product page answer fit and suitability, guide the prescription step with care, and back it all with virtual try on, honest reviews, and a generous returns promise. Do that, and you can go from idea to live eyewear store in days.
A ready made catalog with a lab network behind it is what makes the no inventory model possible. It lets you add a full eyewear category, prescription frames, sunglasses, and readers, and start selling without buying stock or running a lab. That is the fastest path from launch to first pair sold.
Frequently asked questions
Do I need to hold stock to sell eyewear on Shopify?
No. There are two models. You can buy frames, run or contract a lens lab and ship yourself, or you can connect your store to a ready made catalogue and have a certified lab cut the lenses and ship each order. For a new store the second route carries far lower risk, with no frames bought up front and no inventory sitting unsold.
Which Shopify plan should a new eyewear store start on?
The entry plan is generally enough. Move up only when order volume makes the lower card processing rate on a higher plan worth the jump. Paying annually trims a meaningful slice off the price, and starting on the current trial lets you build the whole store before committing.
What matters most on an eyewear product page?
The product page is where eyewear is sold, so it has to solve the two things that make eyewear harder than other products: the customer cannot try the frame on, and the word prescription makes the purchase feel complicated. Virtual try-on and a guided prescription flow address both.
What should I sort out before launch rather than after?
The rules of your market. Most places require a valid prescription on file and lenses must meet basic safety standards, so settle compliance early. Also plan shipping and returns to build trust, and handle sales tax correctly from the start rather than retrofitting it.